Alternatives: Storyblok, WordPress + WPGraphQL + Gutenberg, Strapi.
Advanced
Create A New Webiny Project
Reference: https://www.webiny.com/docs/tutorials/install-webiny
npx create-webiny-project lovia-webinyThen open project folder in VS Code.
Edit .env and .example.env, set your AWS_PROFILE:
AWS_PROFILE=loviaWebiny has two environments that we can use, dev and prod (important: not development and production).
devis a configuration you would typically use in your development. It configures a non-VPC set of resources. It’s less secure, but a lot cheaper to run.prodis a configuration you want to use in production. It contains a full VPC setup. It’s a lot more secure, but comes with at least $40/month cost for NAT Gateway.
To preview deployment, add –preview. Just the preview will take 177+ seconds.
To deploy: (This will take 10+ minutes, due to Amazon Elasticsearch)
yarn webiny deploy --env=dev --debug
# Results:
...
+ aws:s3:BucketNotification bucketNotification creating error: 1 error occurred:
+ aws:s3:BucketNotification bucketNotification **creating failed** error: 1 error occurred:
...
# Stuck here :(
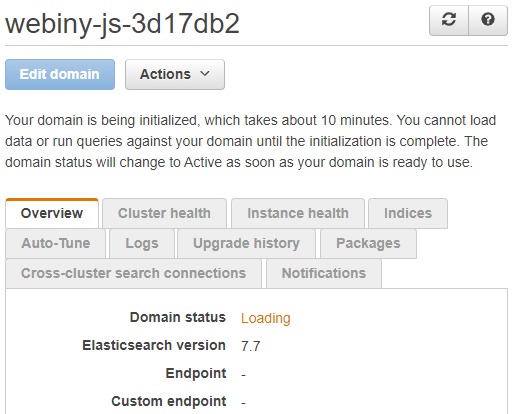
+ pulumi:pulumi:Stack api-dev creating debug: RegisterResource RPC prepared: t=aws:lambda/function:Function, name=fm-downloadI was not patient waiting for “fm-download”, so interrupted. Next, I get this problem. Judging by pending_operations in .pulumi/api/.pulumi/stacks/dev.json , it seems that “urn:pulumi:dev::api::aws:elasticsearch/domain:Domain::webiny-js” was stuck.
After infrastructure deployment is done, you can go to admin app. You will need to set up first admin user account, then set the default locale. Installing Form Builder takes a long time… then stuck here: https://github.com/webiny/webiny-js/issues/1676
Migrating Pulumi State
Webiny uses Pulumi. See Migrating Between Backends | Pulumi.
The file-based Pulumi state backend is in .pulumi/ folder inside project root.
# Export secrets
yarn webiny pulumi api --env=dev -- stack export --show-secrets --file api-dev.checkpoint.json
yarn webiny pulumi apps/admin --env=dev -- stack export --show-secrets --file apps-admin-dev.checkpoint.json
yarn webiny pulumi apps/website --env=dev -- stack export --show-secrets --file apps-website-dev.checkpoint.json

yarn webiny pulumi api --env=dev -- logout
export PULUMI_ACCESS_TOKEN=.......
yarn webiny pulumi api --env=dev -- login https://api.pulumi.com
yarn webiny pulumi api --env=dev -- stack import --file api-dev.checkpoint.json
Running Pulumi Commands
You can run any Pulumi (2.x) commands (non-interactively) by using yarn webiny pulumi:
# webiny pulumi <folder> --env=<env> -- <webiny command>
yarn webiny pulumi api --env=dev -- stack whoami -v
yarn webiny pulumi api --env=dev -- stack output
yarn webiny pulumi api --env=dev -- stack --show-urns