Node.js is an open-source, cross-platform, back-end, JavaScript runtime environment that executes JavaScript code outside a web browser. Node.js lets developers use JavaScript to write command line tools and for server-side scripting running scripts server-side to produce dynamic web page content before the page is sent to the user’s web browser. Consequently, Node.js represents a “JavaScript everywhere” paradigm, unifying web-application development around a single programming language, rather than different languages for server-side and client-side scripts.
Though .js is the standard filename extension for JavaScript code, the name “Node.js” doesn’t refer to a particular file in this context and is merely the name of the product. Node.js has an event-driven architecture capable of asynchronous I/O. These design choices aim to optimize throughput and scalability in web applications with many input/output operations, as well as for real-time Web applications (e.g., real-time communication programs and browser games).
Installation
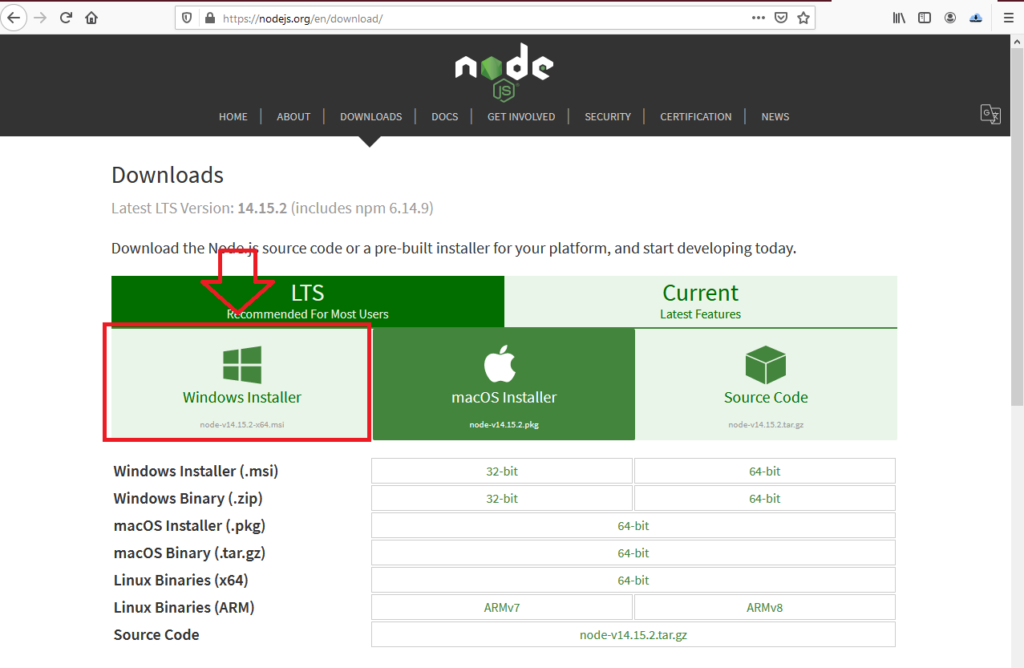
Step 1 : Download Node.js Installer
In a web browser, navigate to https://nodejs.org/en/download/. Click the Windows Installer button to download the latest supported LTS version.
Lovia team defines latest supported LTS version as the most recent LTS version supported by all of the following software & services: AWS Lambda, NestJS, Nx, Strapi.
Currently we use Node.js 14, which can use EcmaScript target version es2020. The Node.js installer includes the NPM package manager.
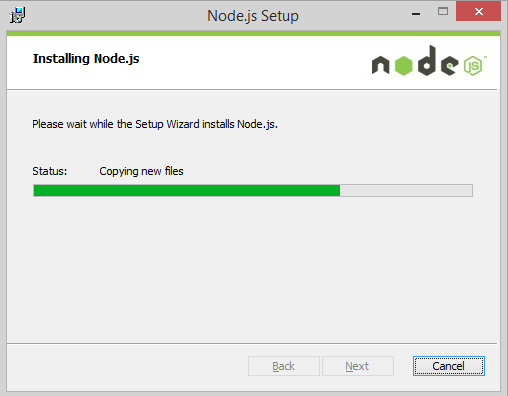
Step 2: Install Node.js and NPM
- Once the installer finishes downloading, launch it. Open the downloads link in your browser and click the file. Or, browse to the location where you have saved the file and double-click it to launch.
- The system will ask if you want to run the software – click Run.
- You will be welcomed to the Node.js Setup Wizard – click Next.
- You will be welcomed to the Node.js Setup Wizard – click Next.
- The installer will prompt you for the installation location. Leave the default location, unless you have a specific need to install it somewhere else – then click Next.
- The wizard will let you select components to include or remove from the installation. Again, unless you have a specific need, accept the defaults by clicking Next.
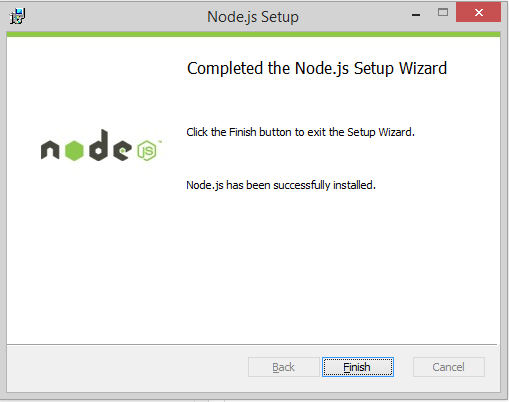
- Finally, click the Install button to run the installer. When it finishes, click Finish and then restart your computer.
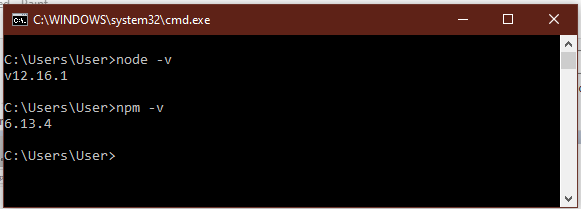
Step 3: Verify Installation
Open a command prompt or terminal, and enter the following :
node -v
The system should display the Node.js version installed on your system. You can do the same for NPM :
npm -v