Tracking Pixel Code
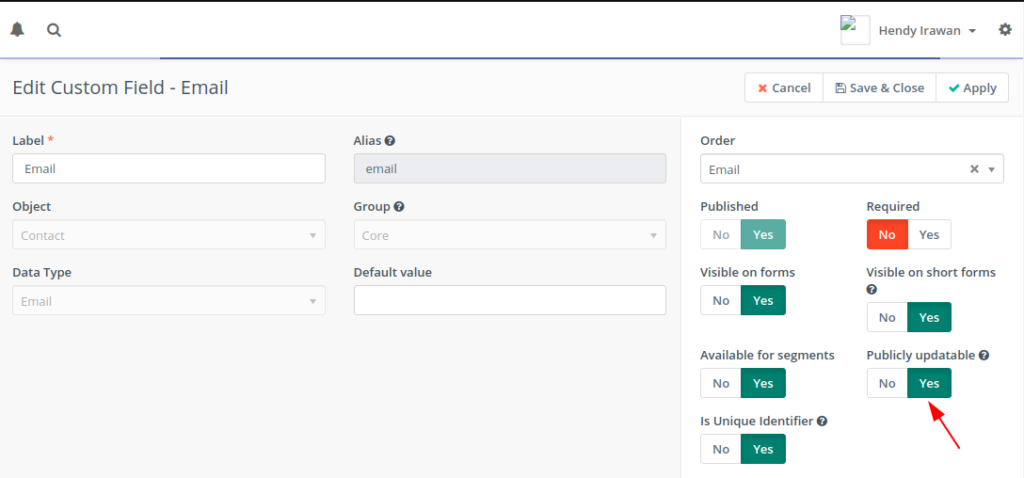
- Go to Mautic Configuration > Custom Fields > Email, set Publicly updatable: Yes.
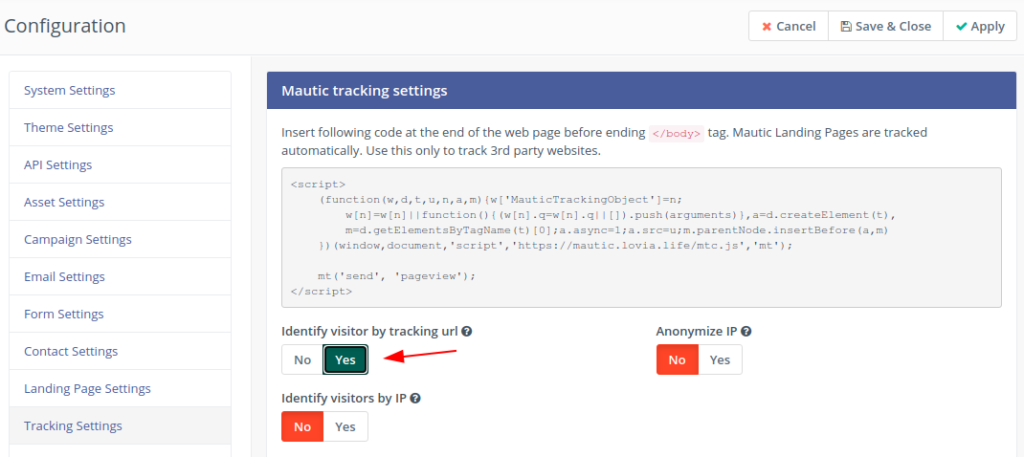
- In Mautic, go to Configuration > Tracking Settings > Mautic tracking settings
Make sure to enable “Identify visitor by tracking URL”:
Ensure Mautic Allows CORS Policy
Error:
Access to XMLHttpRequest at 'https://mautic.lovia.life/mtc/event' from origin 'https://erp.lovia.life' has been blocked by CORS policy: Response to preflight request doesn't pass access control check: No 'Access-Control-Allow-Origin' header is present on the requested resource.Solution: in Mautic’s configuration page > System Settings > CORS Settings > you have to make sure to have “restrict domains” turned off or have valid URLs defined
Install Mautic Tracking Code in WordPress
- Install WP Mautic plugin
- Set Mautic URL: https://mautic.lovia.life/
- Put in: wp_footer
- Track user information for logged-in users: Enable if your subscribers can login to WordPress
You can check results by viewing anonymous contacts:

References:
- https://www.youtube.com/watch?v=nFyCOQorsMQ
- https://docs.mautic.org/en/contacts/manage-contacts/contact-monitoring
Install Mautic Tracking Code in ERPNext
- Make sure ERPNext uses Google Tag Manager and has been installed in Website Settings.
- Get the code from Mautic.
- Use Google Tag Manager to add Custom HTML tag then paste Mautic code.