The best way to do ERPNext development is to use Docker / Docker Compose, which is only available on Ubuntu/Linux, MacOS, and Windows 10 Pro. If you use Windows 10 Home, please install Ubuntu LTS dual-boot and use it to do ERPNext development.
References:
- https://frappeframework.com/docs/user/en/tutorial/app
- https://frappeframework.com/docs/user/en/tutorial/new-app
- https://frappeframework.com/docs/user/en/installation
- https://github.com/frappe/frappe_docker/blob/develop/development/README.md
- Fixtures – Schema modification export (custom fields)
- https://soluvas.com/how-to-create-a-new-app-in-frappe-erpnext-using-docker-development-environment/
- https://soluvas.com/how-to-install-frappe-erpnext-development-environment-using-docker-for-windows/
- https://discuss.erpnext.com/t/basic-knowledge-to-develop-erpnext-correctly/42720/2
- https://discuss.erpnext.com/t/list-of-community-made-apps/10943/3
Set Up frappe_docker and Visual Studio Code Dev Container
- In Visual Studio Code, install Remote – Containers extension
- Git clone
https://github.com/frappe/frappe_docker.git - Open that
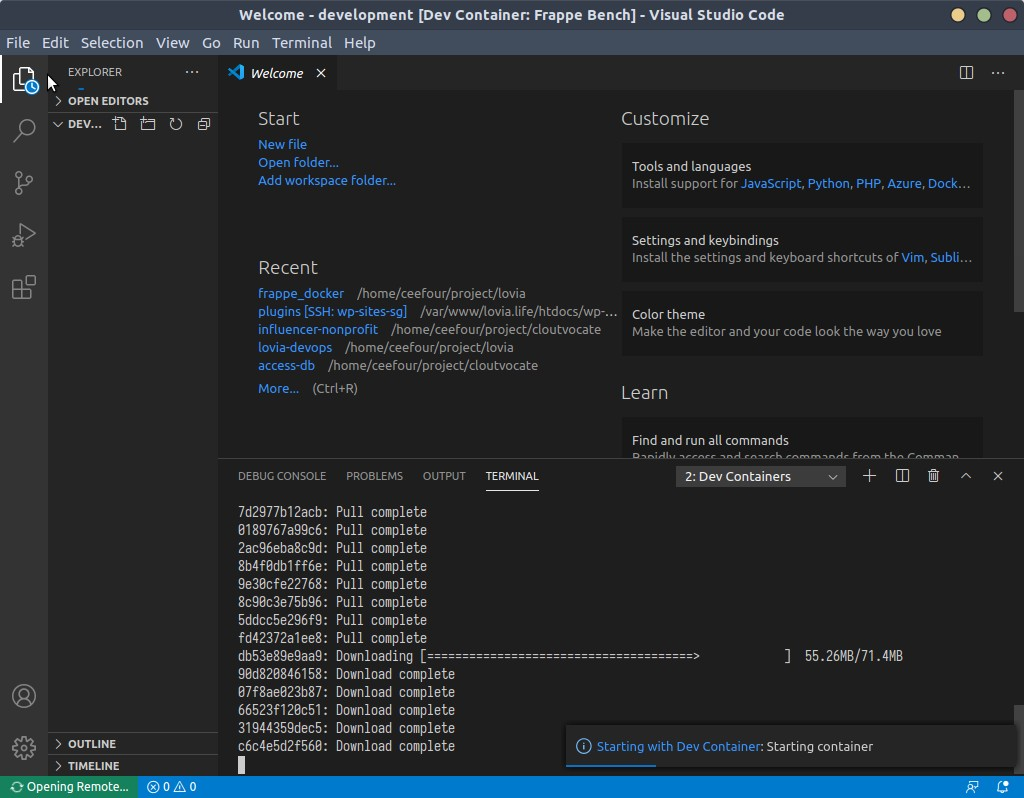
frappe_dockerfolder - Ctrl+Shift+P > Remote Containers: Reopen in Container
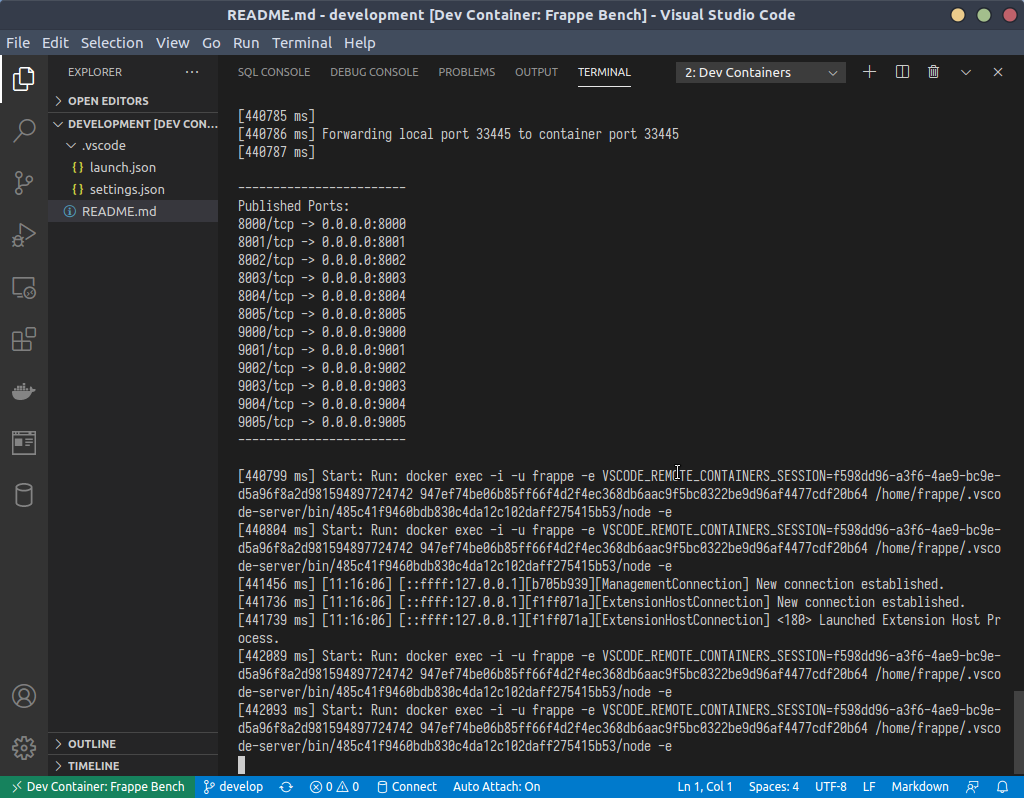
In Visual Studio Code, open a new Terminal.
Troubleshooting: When opening Terminal or running yarn something, you get:
Debugger listening on ws://127.0.0.1:38877/de057011-672b-4b86-bb29-eda2cfb3a842
For help, see: https://nodejs.org/en/docs/inspector
Important: You need to disable NodeJS Inspector first: export NODE_OPTIONS=
Then create initialize frappe-bench folder:
bench init --skip-redis-config-generation --frappe-branch version-13-beta frappe-bench
cd frappe-bench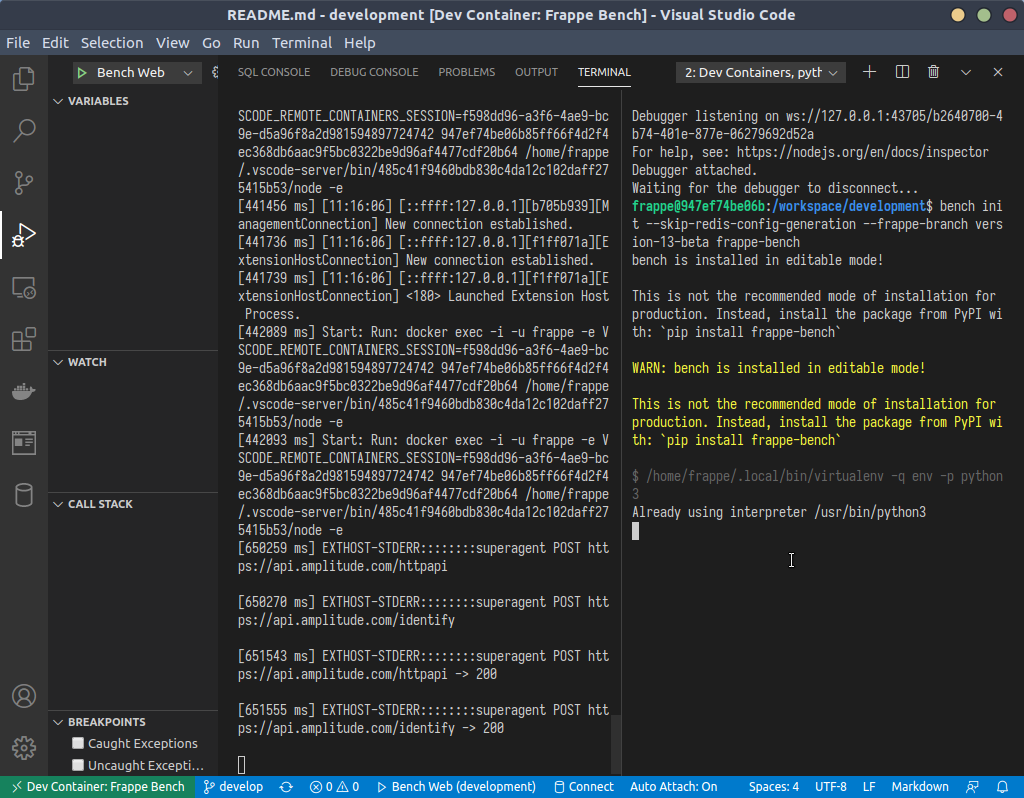
Setup hosts
bench set-mariadb-host mariadb
bench set-redis-cache-host redis-cache:6379
bench set-redis-queue-host redis-queue:6379
bench set-redis-socketio-host redis-socketio:6379
Configure Honcho (not required since version-13-beta?)
Prevent Honcho process manager fro starting Redis processes (because they’re managed by Docker Compose instead)
Edit Procfile, and remove/comment the all “redis” lines (in latest version-13-beta, they’re already gone from Procfile).
Create a new site
bench new-site lovia-dev.localhost --no-mariadb-socket --mariadb-root-password 123 --admin-password adminSet bench developer mode on the new site
Reference: ERPNext developer mode
bench --site lovia-dev.localhost set-config developer_mode 1
bench --site lovia-dev.localhost clear-cache
Install ERPNext
Important: Both frappe and erpnext must be on branch with same name. e.g. version-13-beta
# This will clone erpnext (specific branch) into apps/erpnext/ folder
bench get-app --branch version-13-beta erpnext https://github.com/frappe/erpnext.git
bench --site lovia-dev.localhost install-app erpnext
Problem: Could not find app “erpnext”
Try:
bench switch-to-branch version-13-beta frappe erpnext --upgrade
bench update --patch
Problem: Stuck at “Generating Website Theme Files…”
Solution: export NODE_OPTIONS= then rerun bench update --patch.
Start Frappe with Visual Studio Code Python Debugging
To enable Python debugging inside Visual Studio Code, you must first install the Python extension inside the container. This should have already happened automatically, but depending on your VSCode config, you can force it by:
- Click on the extension icon inside VSCode
- Search
ms-python.python - Click on
Install on Dev Container: Frappe Bench - Click on ‘Reload’
- We need to start bench separately through the VSCode debugger. For this reason, instead of running
bench startyou should run the following command inside thefrappe-benchdirectory:
honcho start \
    socketio \
    watch \
    schedule \
    worker_short \
    worker_long \
    worker_default
This command starts all processes with the exception of Redis (which is already running in separate container) and the web process.
Wait until “watch.1 | Rebuilding *.min.js…” are finished. If you start web process before the rebuilding is finished, ERPNext website will tell you “Updating: Your system is being updated. Please refresh again after a few moments.”
- Start
webprocess from the debugger tab of VSCode by opening the Run View, then clicking on the “Play” button.
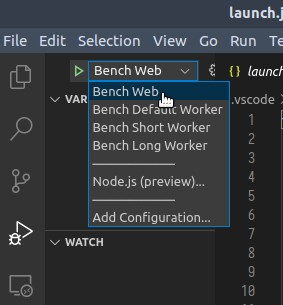
Open http://127.0.0.1:8000/.
Troubleshooting: Your system is being updated. Please refresh again after a few moments.
Try: bench update
Troubleshooting: If the web process seems hanging, go to Terminal > Python Debug Console. Press Ctrl+C to show the shell. Then re-click Play again.
You can now login with user Administrator and the password you choose when creating the site, if you followed this guide’s unattended install that password is going to be admin.
To debug workers, skip starting worker with honcho and start it with VSCode debugger.
Create New App
Within running Docker container, in frappe-bench folder:
bench new-app raiseupkidsInstall app:
bench --site lovia-dev.localhost install-app raiseupkidsAccessing MariaDB Instance
Edit frappe_docker/.dev_container/docker-compose.yml, and update mariadb service as follows:
  mariadb:
    image: mariadb:10.3
    environment:
      - MYSQL_ROOT_PASSWORD=123
      - MYSQL_USER=root
    volumes:
      - ../installation/frappe-mariadb.cnf:/etc/mysql/conf.d/frappe.cnf
      - mariadb-vol:/var/lib/mysql
    ports:
      - "3306:3306"
Now you will need to re-up the compose:
docker-compose --project-name frappe_docker_devcontainer -f /home/ceefour/project/lovia/frappe_docker/.devcontainer/docker-compose.yml up -d --buildNow you can use DataGrip, etc. to connect to MariaDB at localhost, user=root, password=123.
Stopping Containers
Docker Containers including Visual Studio Code’s will run indefinitely until stopped, consuming system resources in background.
To stop, Ctrl+Shift+P > Docker Containers: Stop.
Deploying Custom App(s) to Kubernetes
Reference: https://github.com/frappe/frappe_docker/blob/develop/docs/custom-apps-for-production.md
lovia/frappe_docker repository
Our custom frappe_docker repository is here: https://gitlab.com/lovia/frappe_docker
You may want to pull upstream changes first:
git pull frappe developBuild Docker Image, Tag, and Push to GitLab Container Registry
GitLab CI way: (inside lovia/frappe_docker Git repository)
git push origin develop-lovia:version-13-betaManual way:
Inspired by frappe_docker‘s travis.py script. Note that --no-cache is required because the build script will install from git branch, and because the branch name is the same, by default it will use cache.
# Make sure the base images are updated
docker pull frappe/frappe-nginx:version-13-beta
docker pull frappe/erpnext-worker:version-13-beta
docker build --no-cache --build-arg GIT_BRANCH=version-13-beta -t lovia-worker -f build/lovia-worker/Dockerfile .
docker build --no-cache --build-arg GIT_BRANCH=version-13-beta -t lovia-nginx -f build/lovia-nginx/Dockerfile .
Note: If you get isssues (e.g. #320), try adding --no-cache when running docker build.
Login to GitLab Container Registry, tag then push:
docker login registry.gitlab.com
docker tag lovia-worker registry.gitlab.com/lovia/frappe_docker/lovia-worker:version-13-beta
docker push registry.gitlab.com/lovia/frappe_docker/lovia-worker:version-13-beta
docker tag lovia-nginx registry.gitlab.com/lovia/frappe_docker/lovia-nginx:version-13-beta
docker push registry.gitlab.com/lovia/frappe_docker/lovia-nginx:version-13-beta
Now you can use lovia-worker:version-13-beta and lovia-nginx:version-13-beta Docker images in your Kubernetes/Helm chart. Update Helm chart values in lovia-devops/erpnext/erpnext-values.yaml:
...

nginxImage:
  repository: registry.gitlab.com/lovia/frappe_docker/lovia-nginx
  pullPolicy: Always
  tag: version-13-beta
pythonImage:
  repository: registry.gitlab.com/lovia/frappe_docker/lovia-worker
  pullPolicy: Always
  tag: version-13-beta
# frappe/frappe-socketio
socketIOImage:
  tag: version-13-beta

imagePullSecrets:
  - name: regcred
Make sure you setup the regcred docker secret in erpnext namespace.
During create-site job, you can change the INSTALL_APPS variable:
          - name: "INSTALL_APPS"
            value: "erpnext,lovia"
Tip: Prune dangling Docker images to reclaim root partition drive space:
docker image pruneTip: Inspecting Docker image contents:
docker run -it --entrypoint /bin/bash lovia-nginxInstall Custom App into an Existing ERPNext Site
Reference: https://github.com/frappe/frappe_docker/issues/320#issuecomment-671031725
Let’s say I have custom app from GitHub or other sources and converted the app in to chart. how to add this to already running sites. In bench we used:
bench –site [site_name] install-app [app_name]
Do I need to run helm upgrade ??
Solution: Use console to install app. First you need to add the app to /home/frappe/frappe-bench/sites/apps.txt: (otherwise you’ll get “Exception: App not in apps.txt”)
kubectl exec -it -n erpnext <helm-frappe-bench-release>-erpnext-erpnext-xxxxxxxxx-xxxxx -c erpnext-python -- /bin/bash

echo "lovia" >> apps.txt
Then install the app into particular site:
kubectl exec -it -n erpnext <helm-frappe-bench-release>-erpnext-erpnext-xxxxxxxxx-xxxxx -c erpnext-python -- docker-entrypoint.sh console erp-staging.lovia.life

Apps in this namespace:
frappe, erpnext

In [1]: from frappe.installer import install_app

In [3]: install_app('lovia')

Installing lovia...
Updating DocTypes for lovia         : [========================================] 100%
It will be nice if this is a job that can be run with kubectl or there is a shell script, or at least documented.
After installing an app, you will need to:
- restart the erpnext-erpnext and erpnext-worker pods ? (see
kubectl rollout restartbelow) - run migrate-sites
Redeploy/Rollout Restart
kubectl -n erpnext rollout restart deployment/frappe-bench-0001-erpnext-erpnext deployment/frappe-bench-0001-erpnext-redis-cache deployment/frappe-bench-0001-erpnext-redis-queue deployment/frappe-bench-0001-erpnext-redis-socketio deployment/frappe-bench-0001-erpnext-scheduler deployment/frappe-bench-0001-erpnext-socketio deployment/frappe-bench-0001-erpnext-worker-d deployment/frappe-bench-0001-erpnext-worker-l deployment/frappe-bench-0001-erpnext-worker-sRun migrate-sites Job
In GitLab lovia-devops/erpnext, create e.g. migrate-sites-2020-08-09.yaml:
apiVersion: batch/v1
kind: Job
metadata:
  namespace: erpnext
  name: migrate-sites-2020-08-09
spec:
  backoffLimit: 1
  template:
    spec:
      securityContext:
        supplementalGroups: [1000]
      containers:
      - name: migrate-sites
        # image: frappe/erpnext-worker:version-13-beta
        image: registry.gitlab.com/lovia/frappe_docker/lovia-worker:version-13-beta
        imagePullPolicy: Always
        args: ["migrate"]
        volumeMounts:
          - name: sites-dir
            mountPath: /home/frappe/frappe-bench/sites
      imagePullSecrets:
        - name: regcred
      restartPolicy: Never
      volumes:
        - name: sites-dir
          persistentVolumeClaim:
            claimName: frappe-bench-0001-erpnext
            readOnly: false
Run the job:
kubectl apply -f migrate-sites-2020-08-09.yamlCheck if job is complete:
ceefour@amanah:~/project/lovia/lovia-devops/erpnext$ kubectl -n erpnext get job
NAME                       COMPLETIONS   DURATION   AGE
migrate-sites-2020-08-09   0/1           11s        11s
After job is complete, please delete the job.
kubectl -n erpnext delete job migrate-sites-2020-08-09Change ERPNext Logo & Favicon
Change logo from here: frappe-bench/sites/assets/erpnext/images:
- Logo: erpnext-logo.png
- Favicon: favicon.png
Reference: https://discuss.erpnext.com/t/change-the-e-logo/29190/2?u=hendy
To build that into Docker image, the lovia-nginx Dockerfile is as follows:
ARG NODE_IMAGE_TAG=12-prod
ARG GIT_BRANCH=version-13-beta
FROM bitnami/node:${NODE_IMAGE_TAG}

# Make it faster and cached for next "RUN /install_app" step
# Note: This will fix/cache git and python2 package versions based on bitnami/node base image (which is probably okay)
RUN install_packages git python2

ARG GIT_BRANCH
COPY build/lovia-nginx/install_app.sh /install_app

# Disable cache for specific RUN commands: https://stackoverflow.com/a/49772666/122441
ARG CACHEBUST=1
# RUN /install_app erpnext https://github.com/frappe/erpnext ${GIT_BRANCH}
RUN /install_app lovia https://gitlab+deploy-token-*:*@gitlab.com/lovia/lovia.git ${GIT_BRANCH}

FROM frappe/erpnext-nginx:${GIT_BRANCH}

COPY --from=0 /home/frappe/frappe-bench/sites/ /var/www/html/
COPY --from=0 /rsync /rsync
# Ensure erpnext assets are also rsync-ed to /assets
RUN echo "rsync -a --delete /var/www/html/assets/erpnext /assets" > /rsync
# RUN echo "erpnext" >> /var/www/html/apps.txt
RUN echo "lovia" >> /var/www/html/apps.txt

# Replace favicon (but keep ERPNext logo, at least until we have a way to put multiple logos in ERPNext UI)
COPY build/lovia-nginx/soluvas-icon-192.png /var/www/html/assets/erpnext/images/favicon.png

VOLUME [ "/assets" ]

ENTRYPOINT ["/docker-entrypoint.sh"]
CMD ["nginx", "-g", "daemon off;"]
Upgrading Bench (editable mode) in Development Container
Bench is installed in /home/frappe/.bench, you can confirm by running “bench src”.
Bench bin is installed in /home/frappe/.local/bin/bench
All you have to do to update bench is to git pull (from develop branch):
cd ~/.bench
git pull
Upgrading ERPNext (same major version) in Development Container
In Development container, apps/frappe and apps/erpnext are git repositories. The “bench update –pull” will actually git pull the newest commit from the branch (e.g. version-13-beta), but there are other maintenance commands needed.
You need to:
cd frappe-bench
bench export-fixtures
bench update --pull
bench setup requirements
bench update --patch
Troubleshooting: ImportError: Module import failed for Paytm Settings (frappe.integrations.doctype.paytm_settings.paytm_settings Error: No module named ‘paytmchecksum’)
Solution: Run “bench setup requirements” before doing the migrate (bench update –patch).
Troubleshooting: ERPNext web UI shows “Your system is being updated. Please refresh again after a few moments.”
Solution: Run “bench migrate”. Restart honcho. If that still doesn’t work, edit sites/common_site_config.json and set "maintenance_mode": 0. (source)
Logging, Debugging, & Monitoring
References:
Debugging
The VS Code launch.json provided by frappe_docker already sets up debug port (by setting environment DEV_SERVER=1). You can add breakpoints, break on raised exceptions, etc.
“Break on raised exceptions” feature is notably useful to diagnose confusing “Not Permitted” problems.
Desk Logs
Logs that can be accessed via the Desk UI (generally searched for, from the Awesomebar). These track the operational events generally; but you can utilize their APIs to track about anything from your Frappe apps.
Some of the logs in the Core module are:
You can find more information about them from the embedded links. The best way to find out more about each of them is checking them out directly on your site.
Server Logs
Server Logs generally consist of lower level, transactional data as compared to those accessible from Desk. From Version 13, logs are available at site level too. These site logs are created by the Frappe Application, while many of the bench level log files are generated by the processes that support your Frappe environment. From your bench folder, you may find logs under:
./logs./sites/{site}/logs
At the time of writing this, only frappe.web.log and scheduler.log are logged at site and bench-level. At bench level, some of the most useful files could be:
bench.logscheduler.logworker.log
Tracking the bench commands executed, status of the jobs run by your Scheduler or Background Jobs can be found in these logs.
You can tail:
tail -F logs/*.log sites/lovia-dev.localhost/logs/*.logPrinting Log Messages
If you are working on develop branch of frappé then you can simply write
frappe.logger().debug('Custom Message')within the code where you want to add, message or variable for which you want to get the value. The messages will be dumped inside frappe.log inside sites/SITE_NAME/logs folder, e.g. sites/lovia-dev.localhost/logs/frappe.log. A new file is created after every 20KB of data is written to the file.
Logging/Printing Exception Stack Trace
import logging
import traceback

# ...

	except Exception as e:
		log = logging.getLogger(__name__)
    # traceback.print_tb(e.__traceback__)
		traceback.print_exc()
		response = handle_exception(e)