Creating Image Repository Service (Part 4) – Authentication & Authorization
Hello there! In this post, I would like to use and demonstrate authentication and authorization/permission features in Strapi using Postman.
Continuing development using Strapi
First, open Command Line Interface (CLI) and change the directory to the imagerepo folder by typing :
$ cd imagerepo
Start yarn using :
$ yarn develop

Note :
If you use npm :
$ npm run develop
Type localhost:1337 in any browser’s address bar, then you will be redirected to strapi login page. Fill in your username and password to login. Dashboard page is seen immediately if login is successful.

Authentication & Authorization/Permission
I clicked Roles & Permissions and already created the ‘ Manager ‘ role. As a result, I had three roles available.

Note :
By default, strapi only gives two roles available which are ‘ Authenticated ‘ and ‘ Public ‘.
Next, I clicked Users on the left side of the page and added new users, which are Ali with a role as Manager and Sanyo with a role as Public.


Hence, below is list of all users in Users Collection Types :

Back to Roles & Permissions, to set permissions for each role.
First, I configured permissions for the ‘ Authenticated ‘ and ‘ Manager ‘ role. All actions are allowed but delete action. Delete action should not, or even must not be allowed for all roles for security-related reasons.
Authenticated :


Manager :


For Public role, I currently only permit find action. Anyway, it can be reconfigured so no worries.


I wanted to create a new entry on Imagerepos Content Type. Unfortunately, I got HTTP status code 403, which states forbidden.

This may seem a bit strange as in my previous post, I sent the exactly same request on demonstrating an HTTP method, POST, which was responded successfully. The reason was I was not logged in, so I was considered as a user with Public role. Meanwhile, Public role users are only allowed to use the GET method. In this situation, authorization is required.
“ The HTTP Authorization request header contains the credentials to authenticate a user agent with a server “
(source : https://developer.mozilla.org/en-US/docs/Web/HTTP/Headers/Authorization)
Therefore, I tried to log in by implementing these :
- Using the POST method.
- Changing the endpoint to
/auth/local. - Sending the request within Body -> raw, in JSON format.
- The required fields are identifier and password.
- Value of the identifier field can be either email or username.
- Value of the password field is the password of the user.
- The required fields are identifier and password.
I was logging in as Jack, so I typed his credentials then I received a response like this :

Do you see something different in the response Body ?
I think you sure do. There is a field named jwt, which stands for JSON Web Tokens.

This is required to login as Manager role, which has permission to make a new entry (using POST method).
“ How are we gonna use that? “
Initially, we copy the jwt. Click on the Authorization tab. Next, click the dropdown bar under TYPE, to select Bearer Token. Finally, we can paste the jwt on token input.

Do not send it yet as we have not inserted our request!
Change the view by clicking the Body tab. Select form-data, then input data for a new resource.

After finishing the input, click the Send button to proceed.
Voila! We have successfully created a new entry!

Let’s have a look at Imagerepos on the admin panel to prove it.

As we see, it has been added successfully.
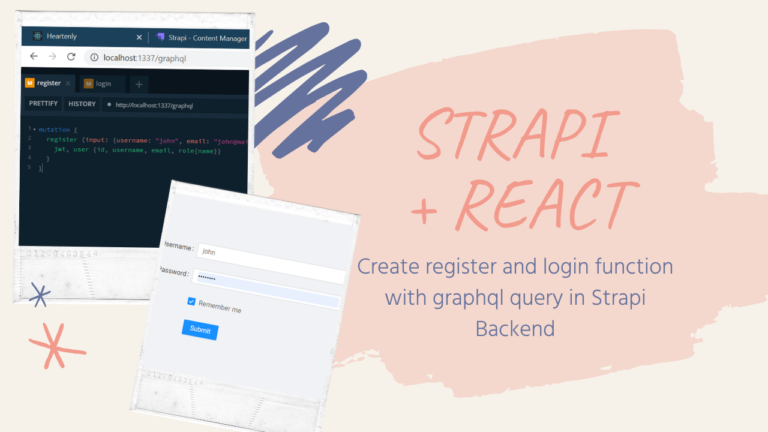
GraphQL
Still about web service API, so there are several web service APIs :
- SOAP
- XML-RPC
- JSON-RPC
- REST
- GraphQL
(source : https://rapidapi.com/blog/types-of-apis/)
GraphQL is created and maintained by Facebook. Initially it was made to solve internal problems. Eventually, Facebook released it open-source. Even though REST API is more common, it is said that GraphQL is better than REST API.
Unlike REST API that utilizes various HTTP methods, GraphQL only uses POST method with the only endpoint, which is /graphql.
“How to enable GraphQL in Strapi?”
Navigate to Marketplace and install GraphQL.

Redirect to localhost:1337/graphql . Eventually a screen like below is presented.

If I use Postman, Click APIs on the tab on the left side of the page. Next, enter API details such as Name and Version. After that, just input schema details like below then click the Create API button.

Therefore, we can create a schema.

Thank you for reading this article, have a nice day!