FastApi and Docker Container For KTP-OCR

First of all, I will describe the FastApi first. So API is a computing interface that defines the interaction between multiple software intermediaries or it’s just like a bridge connecting two software. In API u can define what can kind of calls or requests do u like, the data format, etc [1]. And what is FastApi? FastApi is a web framework for building Api with python 3.6+ based on standard python type hints.
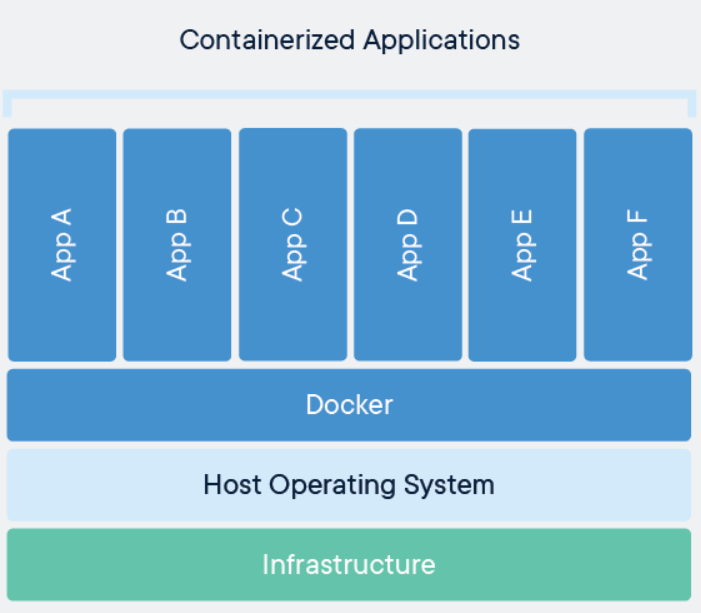
Before we jump to the code, I will describe a little bit about Docker Container too. Docker Container is a standard unit of software that packages up all of your code and dependencies so the application will run quickly and reliably from one computing environment to another. When u packaging some code in docker, the package that u have been made it’s called Image, the image that u have been made it’s executable is was included code, runtime, system tools, system library, and settings.
Before we start we need to install some some requirements:
$ pip install fastapi
$ pip install uvicorn
Because we just need uploaded the photo and extract it, we just needed this code to upload the image and don’t worry u don’t have to make HTML page again, because Swagger UI already makes an interactive page for u.
import uvicorn
from fastapi import FastAPI, File, UploadFile, Request

@app.post("/files/")S
async def create_file(file: bytes = File(...)):
image1 = KTPOCR(file)
return image1.to_dict()

if __name__ == "__main__":    uvicorn.run(app, host="0.0.0.0", port=8080)
And then Just run it, and open your local host, as u setting before, after u run it, u will got responds on your terminal like this
INFO: Started server process [1]
INFO: Waiting for application startup.
INFO: Application startup complete.
INFO: Uvicorn running on http://0.0.0.0:8080 (Press CTRL+C to quit)
after that u can open ur local host, and it will shows up like this:
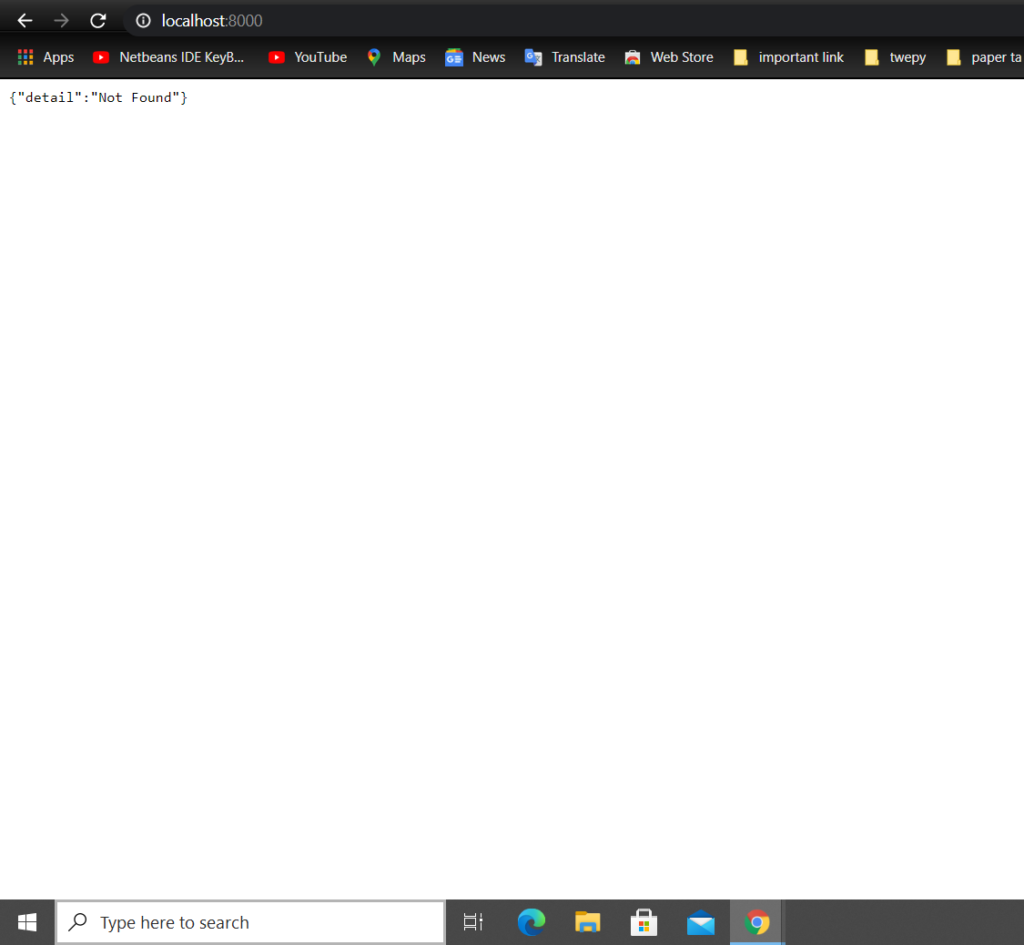
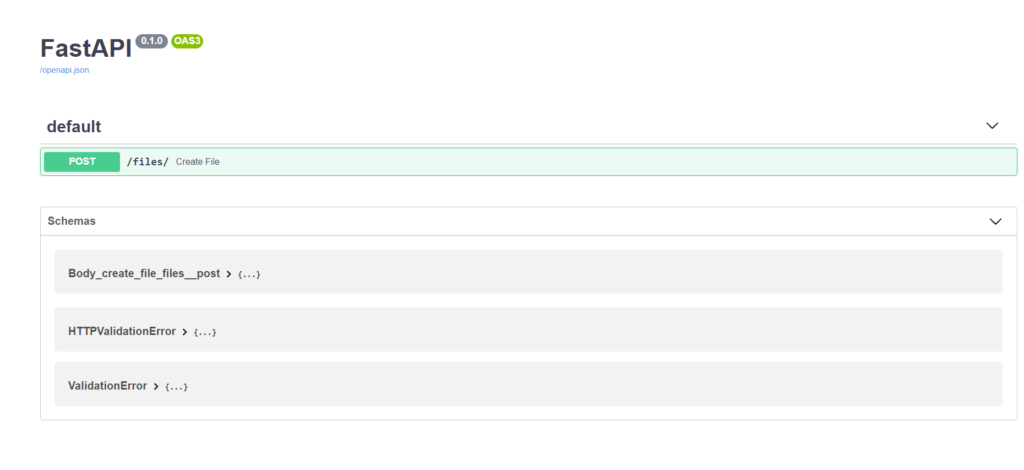
That’s fine if it just blank page don’t worry. just add a “/docs” on your websites like this:
localhost:8000/docs
and it will shows like this:
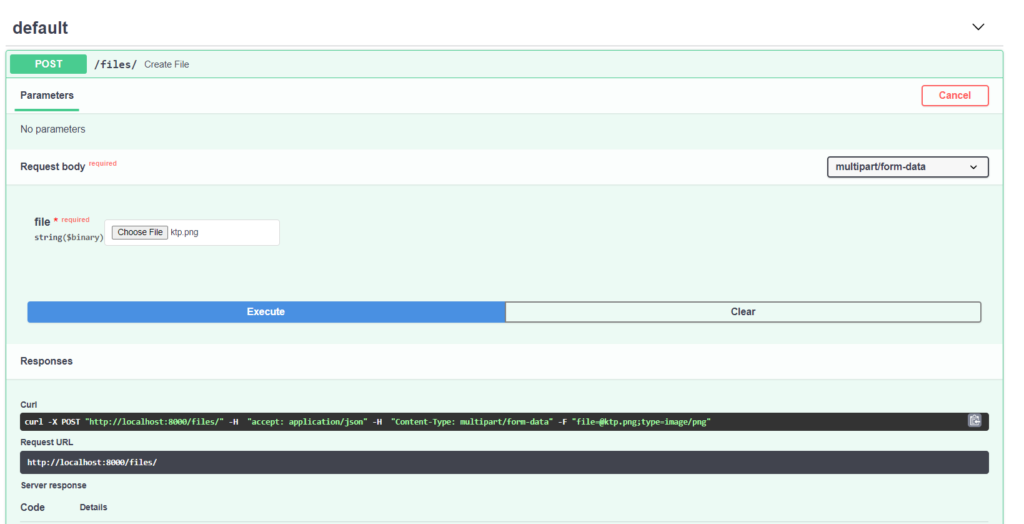
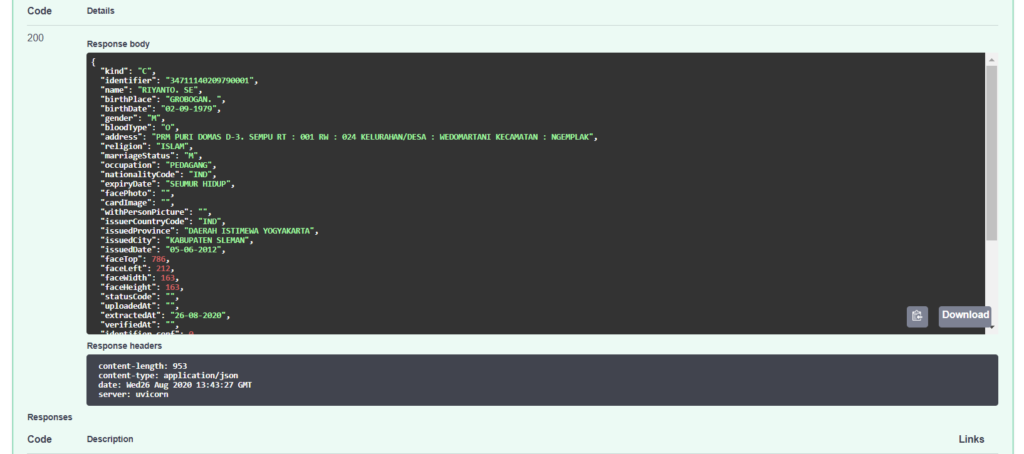
and upload the photo as u want, by clicking the green block written “POST”, because i already improve my code, so when i upload the photo the result would be like this:
after it works, don’t forget to push your code to github/gitlab, or maybe u can just save your code. after that, we jump to the Docker Container. After your codes work well on the localhost, now u can build an “IMAGE” that I have been explained before. First of all, u need to install The docker itself over here “https://docs.docker.com/docker-for-windows/install/” after that u check ur docker version after u install it, but remember u just can using docker container with windows 10 pro:
$ docker --version
if it shows the result that means it already installed on your windows. after that u can build your image on docker if u still confused about the image on docker, u can try the example provided by docker in here “https://docs.docker.com/get-started/part2/”, because i want to use python code, there are some extra step to build an image on docker. It added a new file named “Dockerfile”, why? u already install some library/module on your laptop, but u need to use it on the server to after u build an image on docker, so u have to add some syntax on Dockerfile too, and in Dockerfile too, u can use Linux syntax, cool right? so this is my Dockerfile:
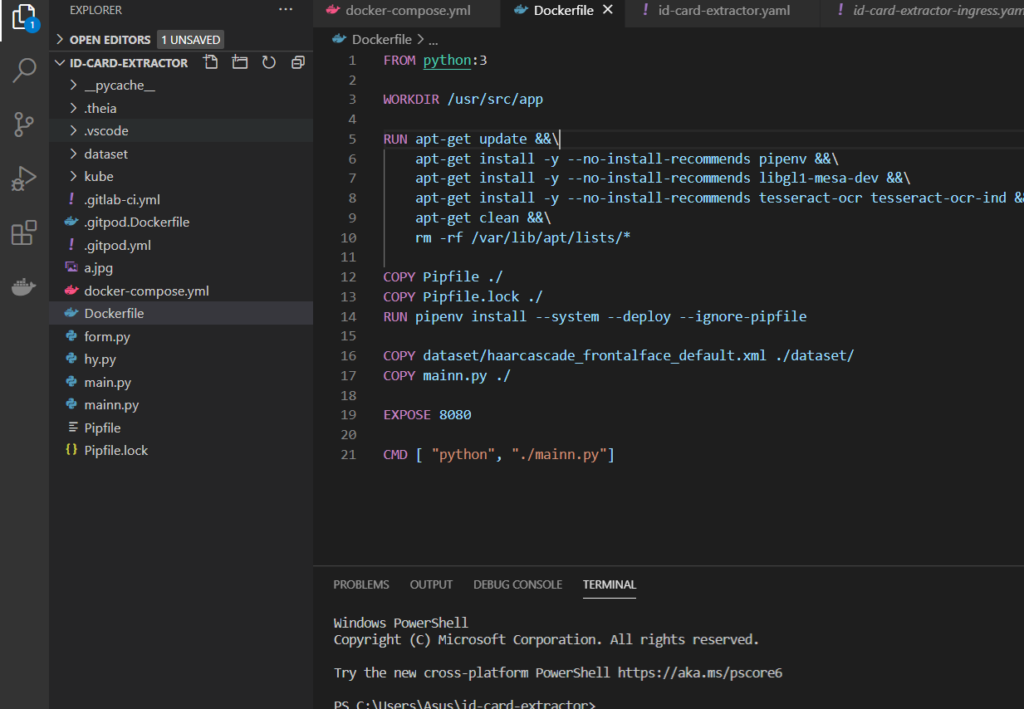
i will give a little bit advice when u want to construct your Dockerfile, u have to construct it in order like this:
Why? because when u wrong while construct it, u will be wait for a long time every u got some change on your code, so beware of it.
- FROM python:3 -> set base image, actually there was more then one setting base for image, but we will use this to avoid some error that might be appear.
- WORKDIR -> set the working directory on the container
- RUN apt-get update -> update the dependencies
- apt-get install -y –no-install-recommends pipenv -> u can put any Linux syntax to download some library over here
- COPY -> copy the dependencies to the working directory
- RUN -> install the dependencies
- EXPOSE ->your container port
- CMD -> command to run on container start
After the preparation is done, u can build your image now
$ docker build --tag [your_project_name]:[version of your project] .
u can named your project and version as you wish, for my project the syntax would be like this:
$ docker build --tag id-card-extractor:1.0 .
just run it, and it will shows like this:
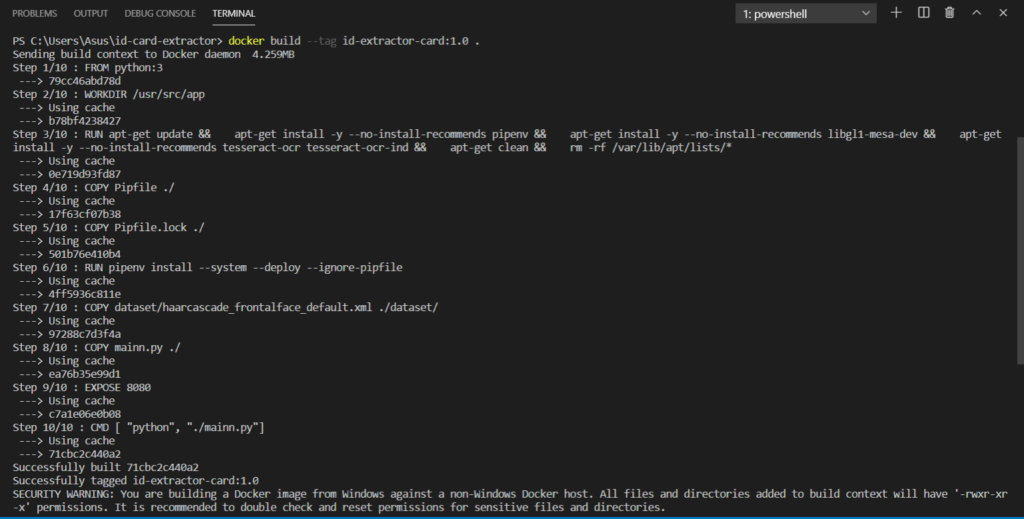
if it already success, now u can run your docker:
$ docker run --publish 8000:8080 --name test1 id-card-extractor:1.0
#publish -> your local host port and your container port
#name -> your container name
after that u can open your browser and visit “localhost:8000” , it depends to your port setting.
here some source that might be helping u with docker container and fast api
Docker container:
- https://docs.docker.com/get-started/
- https://www.docker.com/blog/containerized-python-development-part-1/
Fast api
and if u want to see the demo, you can visit our youtube channel over here:
- https://youtu.be/ttOi7eDRKyA